How to Make a Homemade Degreaser
Ranges, sinks, cabinets and burnt pans could all use a good degreasing from time to time. If store-bought products seem too harsh, try making a homemade degreaser for a more natural cleanse.
Our editors and experts handpick every product we feature. We may earn a commission from your purchases.
You’ve been cooking for hours, the kitchen is sweltering, the stove has to cool down and dinner is ready. You had been dying to try that time-consuming, multi-step recipe, but now you’re zoomed in on every oil splatter and grease stain across, well, everything. You tell yourself you’ll just clean it up after you eat, but then morning comes and those splatters and stains have crusted over. Whoops.
Enter, the homemade degreaser. Making a degreaser out of products you already have in your home gives you the peace of mind that you know exactly what’s in the solution. Products like vinegar and baking soda are part of vintage cleaning hacks for a reason—they’re time-tested, effective products sans mystery chemicals and intimidating warning labels.
Let’s bring back the simplicity of mixing your own cleaning solutions and scour those tough grease spots away. (Just remember to never mix these cleaning products.)
Before You Start
If you’ve ever mopped a floor before sweeping it, you’ll know what we mean when we say it’s important to remove crumbs and clear your work area before degreasing. Make sure all your other dishes are cleaned and put away. Remove any kitchen decor, olive oil bottles, salt cellars or knife blocks you have near your stove (By the way, these germ-infested kitchen items should definitely get a good wipe-down themselves). Remove any crumbs or caked-on food from your pots, pans and stove top that can easily come up with a damp paper towel or kitchen rag.
How to Make Your Own Homemade Degreaser
 TMB Studio
Ingredients
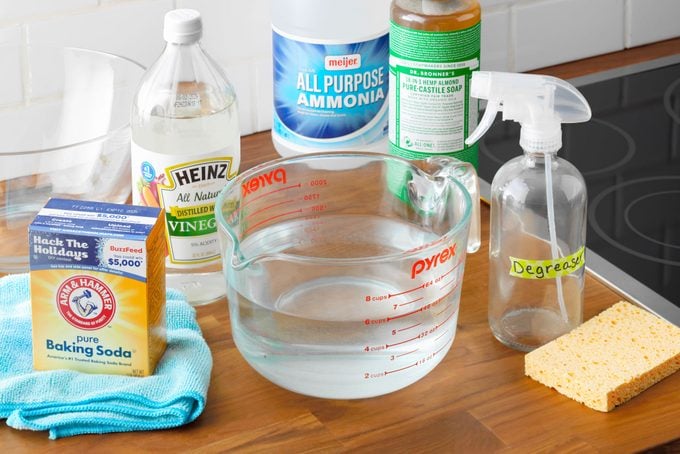
- 1/2 cup white vinegar
- 1/3 cup clear household ammonia
- 1/4 cup baking soda
- 2 tablespoons liquid castile soap
- 1-1/2 quarts water
Tools
- Spray bottle: Using a spray bottle makes cleanup simple, plus you can store it easily under your sink.
- Sponge: Use a sponge to rub the degreaser into the stained areas. The sponge is rough enough to buff out tough stains without scratching the surface.
- Dish cloth: Dish cloths are gentle and can pick up any remaining grime and degreaser solution once it’s been rubbed in.
Directions
Step 1: Combine ingredients
 TMB Studio
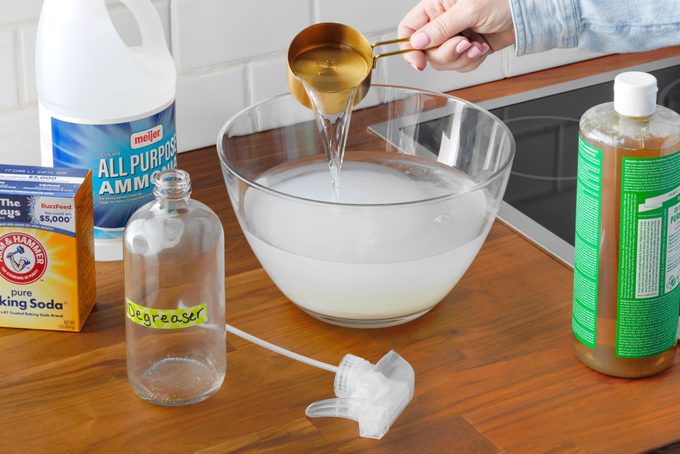
Combine all ingredients in a half-gallon container and stir well. Pour the solution into a spray bottle.
Step 2: Spray affected area
 TMB Studio
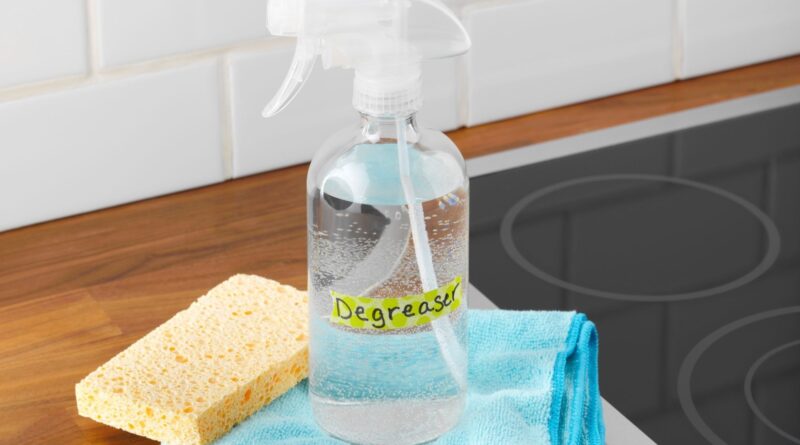
Spray the degreaser onto grease stains and let it sit for 3-5 minutes, depending on how tough the stain is.
Step 3: Rub away the grime
 TMB Studio
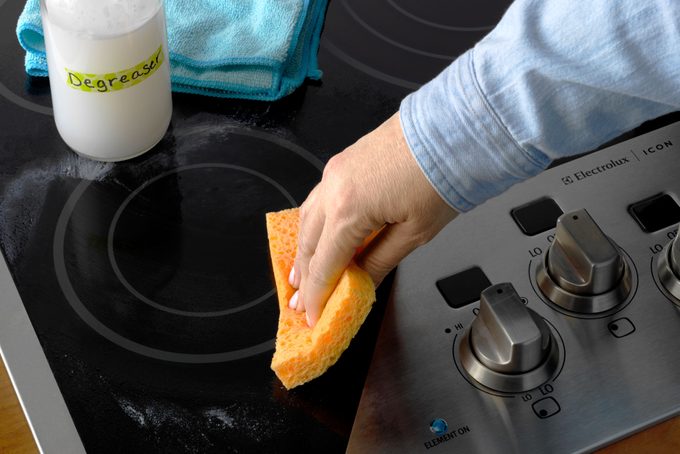
Using a clean sponge, gently rub the stain until it starts to lift. Wipe away any excess grime and degreaser with a clean, damp dish cloth.
Homemade Degreaser FAQs
Why do I need to test the degreaser before cleaning?
If you’re nervous about the strength of this homemade degreaser, you can always spot check it. Spray or dab a small amount on the surface you will be degreasing. If it comes off well and doesn’t harm the surface of your pans, range or cabinets, then that’s a good sign you can go ahead and apply it to a larger area.
What other things can this mixture clean?
This mixture can also work as a stain remover on clothes, table cloths, dish rags and napkins. Dab a cloth into the mixture, then rub the stained area with the cloth. Wash the garment quickly after spot treating so that the product does not sit for too long on delicate garments.
Popular Videos
ⓘ

