
You Know How to Freeze—Here’s How to Unfreeze
Our book, It’s Always Freezer Season, is all about using the freezer more strategically, with recipes for your “freezer pantry” that will help you get to dinner faster—things like buttermilk biscuit rounds and chicken stock—as well as freezer-friendly mains, like enchiladas and macaroni and cheese, that can be made completely from start to finish, then frozen for a busy day.
But we learned that it’s just as important to understand how to freeze as it is to understand how to unfreeze—and by that, we mean how to thaw and reheat food that’s been frozen. Whenever you’re getting ready to cook with food that’s frozen, whether that’s a piece of protein or a complete casserole, there’s a prologue that needs to take place before you can get started: How will I thaw that food?
There are a number of ways to do it and a number of ways not to do it, and it all depends on the ingredient or dish in question and the end result. Below, we’ll dive into how to thaw and reheat all sorts of foods, as well as our favorite (and least favorite) methods for each:
Thawing
Thawing is different from reheating. When we talk about thawing, we mean the process of raising the temperature of a frozen ingredient to the point at which it is no longer frozen but ideally is not yet in the danger zone of 40° to 145°F (that’s the temperature range in which bacteria that can lead to foodborne illness are most likely to produce). We want to thaw, not reheat, ingredients we plan to continue to cook with, rather than immediately reheat and eat.
Pull and Thaw (Refrigerator Thawing)
The most controlled and accurate way to thaw something is to move the dish or ingredient from your freezer to your refrigerator, and wait. We call this “the pull and thaw” method. This ensures that the temperature of the food never exceeds that of the refrigerator, which keeps the item below the threshold of the danger zone at all times. But it is also the longest thawing process. In our experience, it takes a minimum of 24 hours for a previously frozen recipe or dish to thaw in the refrigerator. You’ll often see instructions in recipes elsewhere stating that you can thaw something “overnight,” but in our house, 8 to 12 hours has rarely been enough time to thaw frozen food completely.
It’s easy to get around the time commitment, as long as you’re planning ahead. Try to get in the habit of pulling what you need and moving it to the refrigerator about two days before you’re ready to cook. Your foresight will result in the best quality and safety of your dish.
Countertop Thawing
We don’t recommend leaving frozen food out at room temperature to thaw. Most frozen food will require several hours to thaw at room temperature, which means prolonged exposure in the danger zone as the temperature of the item rises. The only exceptions to this would be less perishable items that you might keep on a counter anyway, such as breads, bread crumbs, muffins, cookies, or pie dough. But even then, if it’s going to take more than 2 hours for the item to thaw, it’s best to move it to the refrigerator.
Cold Water Thawing
Let’s face it: Sometimes, we forget to pull our frozen ingredients with enough notice to thaw them in the refrigerator. Sometimes we need to thaw something quickly! In these instances, the next best approach is the cold running water bath. To do this, put your packaged ingredient into a large bowl or other vessel, or even a plugged sink, and run a slow steady trickle of cold water over it until it thaws. While it’s way faster than thawing in the refrigerator, this process isn’t exactly quick—expect 20 to 30 minutes for most items. This method is preferred by the health department (at least here in North Carolina, where we live), but it’s not ideal from a water conservation perspective. You can also try the water bath method: Submerge the packaged item in cold water, and change out the water every 30 minutes until the food is thawed.
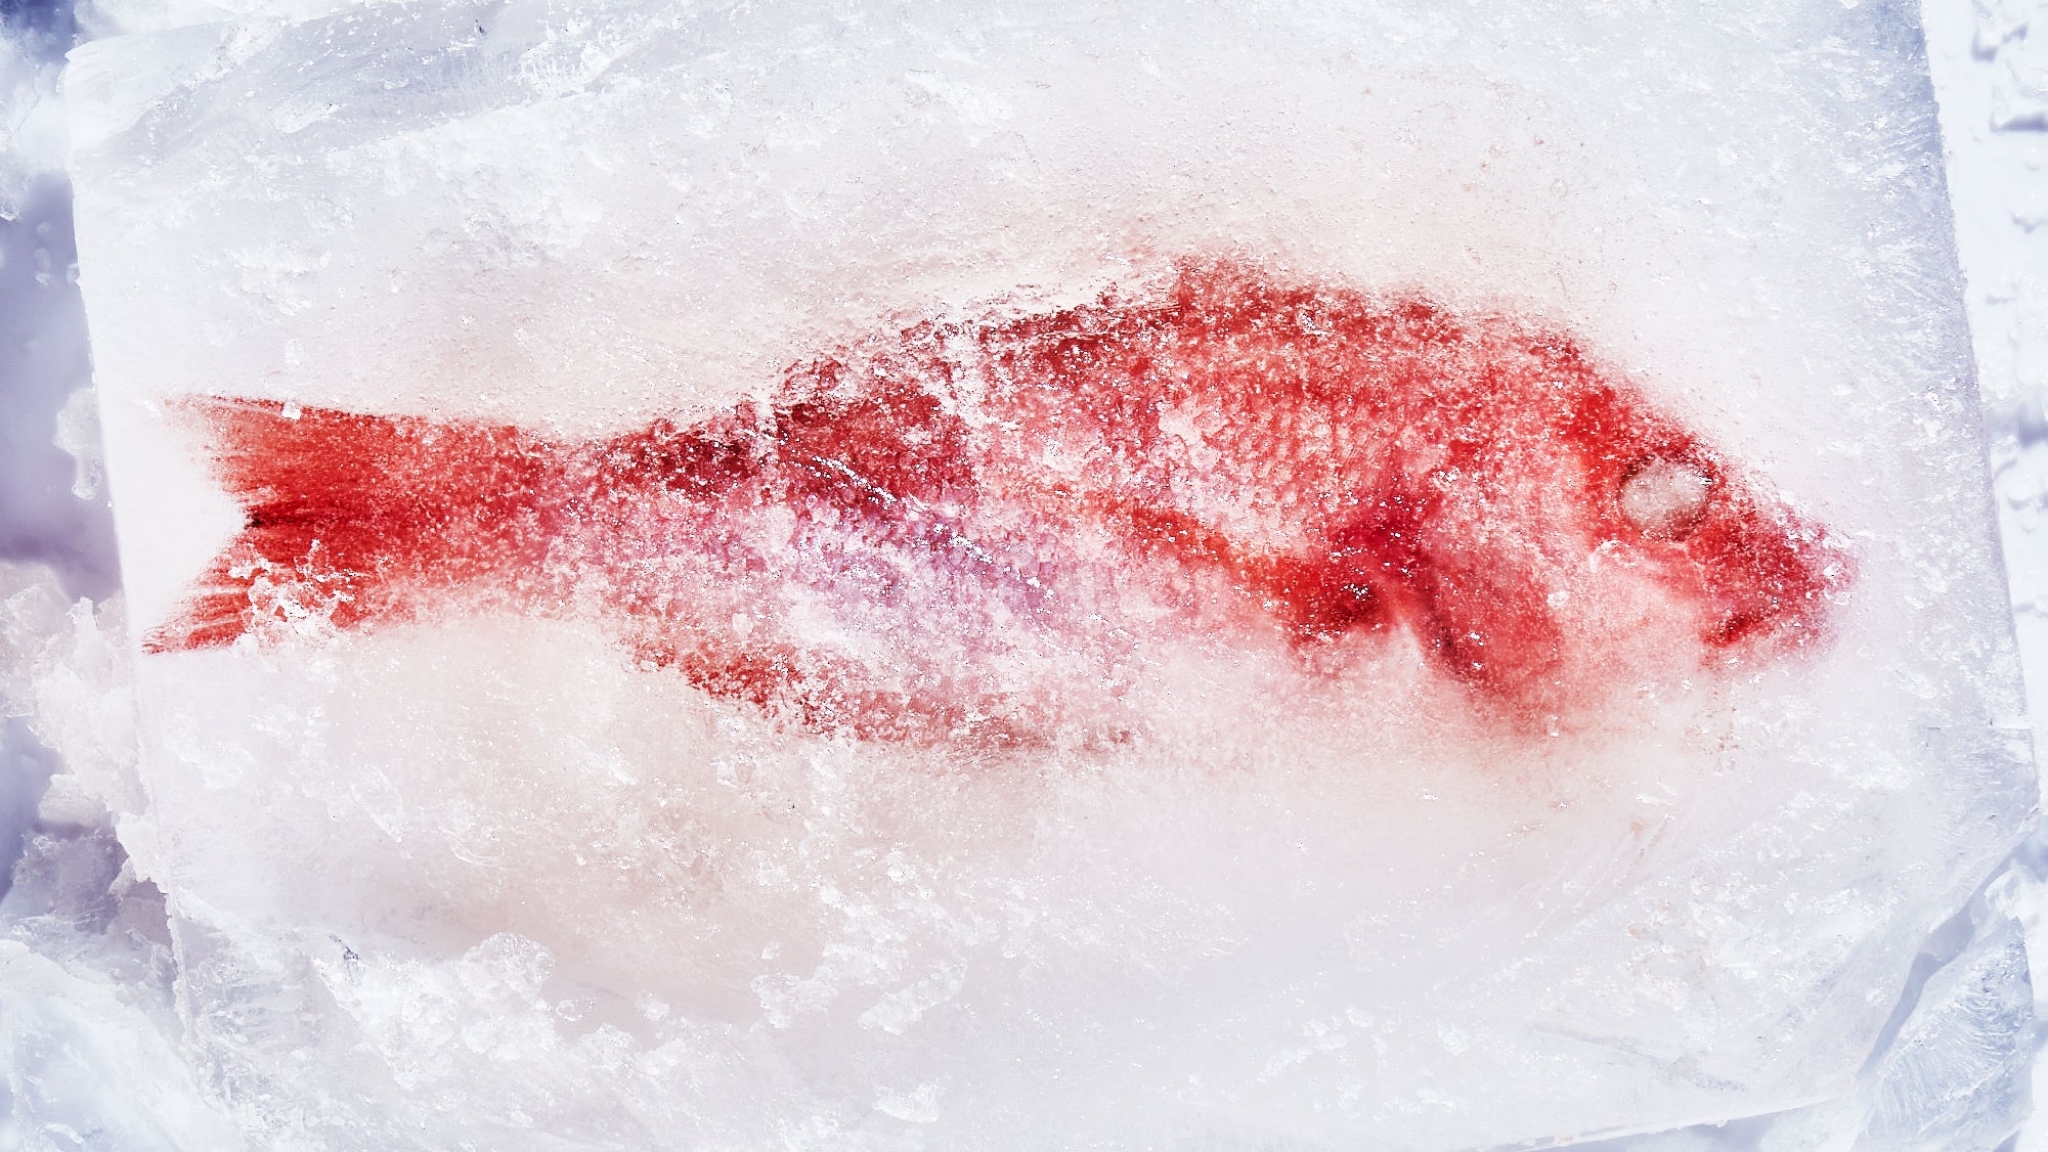
Learn how to thaw frozen fish safely.
Photo by Chelsie Craig, Food Styling by Pearl JonesResist the urge to use hot water to speed up either version of the process; doing so can heat up the exterior of the food to a temperature in the danger zone, where bacteria can start to multiply. (The hot water could also mess with the food’s texture.)
Speed Thawing
If even 20 to 30 minutes is out of the question, there are other ways to move your frozen food into a thawed state with greater haste.
We typically rely on the low power settings of the microwave, or a short round in the Instant Pot (try 2 to 3 minutes instead of 6). But proceed with caution. Anytime you’re applying heat to frozen food in order to thaw it, you’re risking the chance that the temperature of the ingredient will rise into the danger zone. What does that mean? Is it a guarantee that you’ll get sick? No, definitely not. But it means that you should start an internal clock in your head: To minimize the risk, prepare and eat the food in question within 4 to 6 hours.
Cooking and reheating from frozen
In some cases, you can bypass the thawing step altogether and start the process from a frozen state. This works best for ready-to-eat dishes that you’re reheating with the intention of eating immediately. It also works for some dishes that are not yet cooked but are otherwise completely composed and require no additional steps before cooking.
Oven
Oven-baked dishes, like a pan of enchiladas, lasagna, or apple pie, are a great example of foods that are ideal to cook for the first time directly from frozen. Dishes like these can be put into the oven straight from the freezer and cooked until hot and ready to eat. The only downside is that these types of dishes typically require quite a long baking time (much longer than if you were baking them from a room temp or chilled state): In our experience, a fully frozen 9-by-13-inch baking dish will take from 2½ to 3 hours to bake. Keep that in mind when planning your cooking time.
Sous Vide
If you’ve used vacuum-sealed packaging, one great way to reheat or cook from frozen is the sous vide method. It requires an immersion circulator, a professional kitchen tool that used to feel out of reach to most home cooks but has made major inroads to accessibility in the last five years. This appliance, which looks like a wide wand and is clipped to the side of a container, will typically run you less than $200. The circulator allows you to keep a hot-water bath at a constant temperature. You can add vacuum-sealed bags of frozen food to the water bath to cook or reheat. We’ve used the sous vide method to bring frozen soups, stews, and even mashed potatoes to a hot temperature. It’s a lifesaver on Thanksgiving when you’re running out of stovetop or oven space.
A step-by-step guide to sous vide.
Photo by Alex Lau, Food Styling by Anna BillingskogInstant Pot
The Instant Pot is useful not only for cooking food but also for reheating frozen food. It’s particularly great for reheating stock or soup. You may have to run the container under warm water to make it easy to transfer the contents to the Instant Pot, but from there, it’s pretty easy: Slide the Instant Pot lid to lock, set the timer to high pressure for 6 minutes, and then, when the time is up, release the pressure with the quick-release method.
Microwave
An oldie but a goodie, the microwave and frozen food have a long-established, very close relationship. Most prepackaged frozen food encourages microwave reheating, and college students everywhere have survived by using this appliance. But with all of that said, the microwave has a negative connotation among some cooks. In certain culinary circles, cooking with a microwave is looked down on.
On this pretentious attitude, we call BS. Microwaves have as much of a place in the home kitchen as any other appliance. Whether you prefer to use it frequently or at all is up to you, but let’s all separate that decision from any kind of moral or cultural high ground. Convenience and quality do not have to be mutually exclusive.
In the past, criticism of microwaves generally focused on the quality of the food: The high-power heating process was hard to control and could lead to some unfortunate quality issues. But the microwaves of today are significantly more calibrated, often with multiple power levels and settings to help you control your cooking. As we’ve rekindled our love of the microwave with this book, we’ve also come up with a few rules:
- Avoid the highest power setting. Even though it’s the default setting on most microwaves, it’s not necessary and creates the least-consistent results.
- Rethink your expectations of cook time in the microwave. Microwaves are used for their speed; what takes 20 minutes in the oven takes 3 minutes in a microwave. But using a microwave at a lower power setting over a longer period of time can be a real game-changer.
When thawing something from frozen, we typically start on a power setting below 5 (out of 10, with 10 being the max), and microwave in 3-minute increments. Depending on the size and vessel, it can take from 8 to 12 minutes to thaw and heat.
It’s Always Freezer Season: How to Freeze Like a Chef with 100 Make-Ahead Recipes
Reprinted from ‘It’s Always Freezer Season.’ Copyright © 2021 by Ashley Christensen and Kaitlyn Goalen. Photographs copyright © 2021 by Lauren Vied Allen. Published by Ten Speed Press an imprint of Penguin Random House LLC.
Freeze it now, eat it later: